Toast UI 시작 - 설치
npm install @toast-ui/react-editor리액트에서 사용하기 위해 위와같이 설치해준다.
텍스트 에디터 - Editor
일반 컴포넌트처럼 사용할 수 있다.
import { Editor } from '@toast-ui/react-editor';
import '@toast-ui/editor/dist/toastui-editor.css';
위처럼 불러와줘야지 기본틀을 지정해줄 수 있고,
추가 옵션을 사용하여 여러 설정을 해줄 수 있다.
<Editor
    placeholder="내용을 입력해주세요."
    previewStyle="vertical" // 미리보기 스타일
    height="300px"
    initialEditType="wysiwyg" // 초기 입력모드 설정
    toolbarItems={[
      // 툴바 옵션
      ['heading', 'bold', 'italic', 'strike'],
      ['hr', 'quote'],
      ['ul', 'ol', 'task', 'indent', 'outdent'],
      ['table', 'image', 'link'],
      ['code', 'codeblock']
    ]}
    useCommandShortcut={false} // 키보드 입력 방지
></Editor>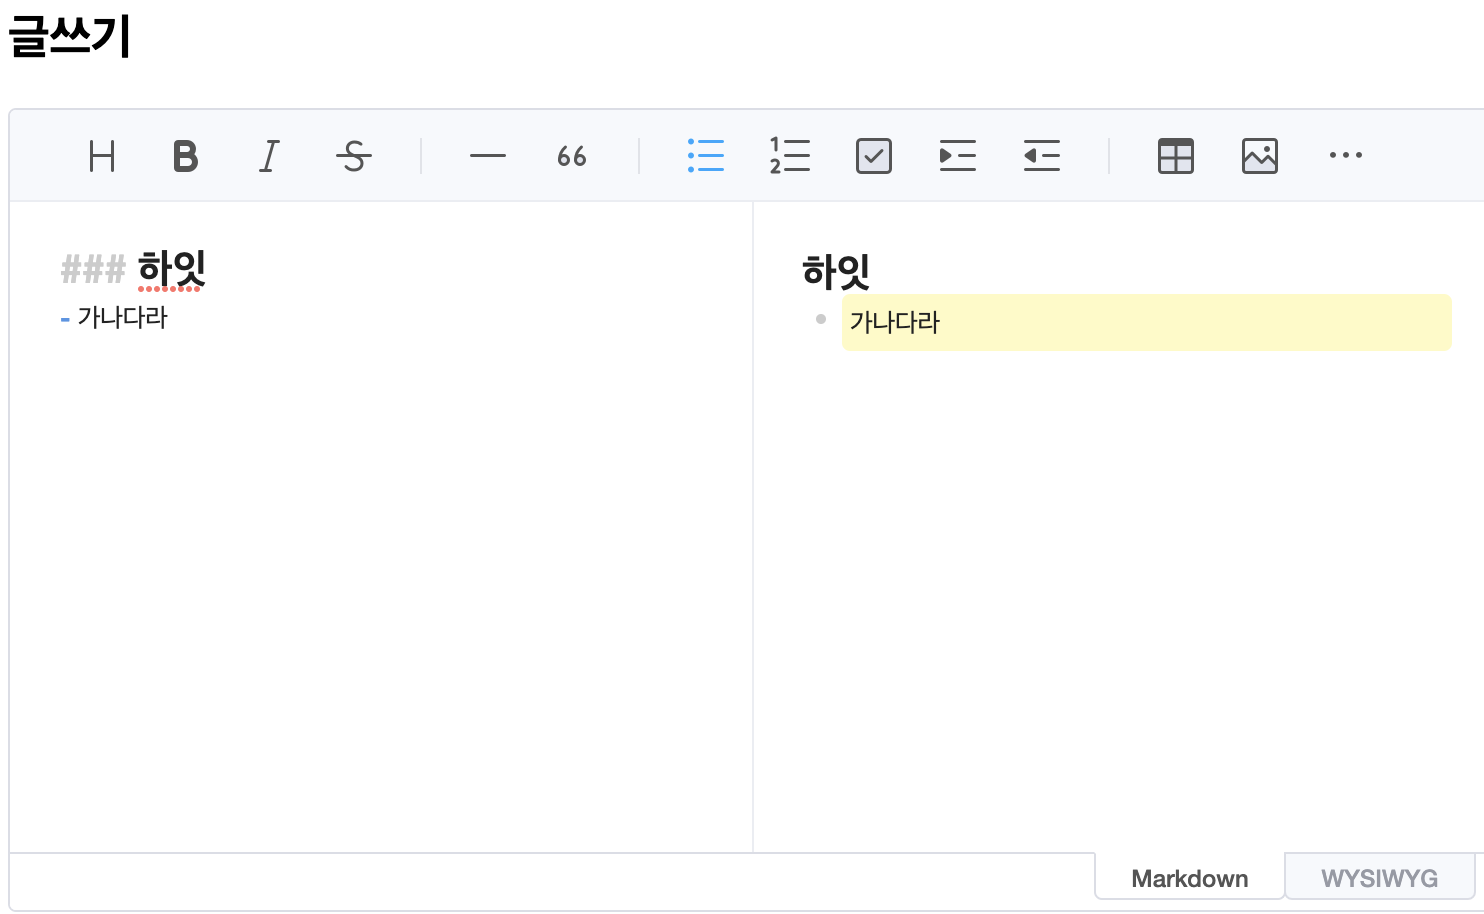
previewStyle
tab / vertical, 마크다운일 때 미리보기 스타일을 지정할 수 있다. 위처럼 vertical이면 세로로 나뉜다.
initalEditType
merkdown / wysiwyg 초기 보일 화면을 지정
toolbarItems
텍스트 에디터의 툴바에 들어갈 것을 문자열 배열로 넣어준다.
그외 옵션 설정은 https://nhn.github.io/tui.editor/latest/ToastUIEditorCore
https://nhn.github.io/tui.editor/latest/ToastUIEditorCore/
RETURNS: { Array. >Array. } - node start, end range
nhn.github.io
텍스트 에디터에 작성된 내용 읽어오기
먼저 Editor 컴포넌트에 ref 로 useRef 처리해준다음, 해당 ref 에 접근하고
getInstance() 메서드로 인스턴스화 해준다. 그다음 아래처럼 처리해주면 적어준 내용을 읽어올 수 있다.
console.log(editRef.current?.getInstance().getHTML()); // HTML 로 읽어오기
console.log(editRef.current?.getInstance().getMarkdown()); // Markdown 으로 읽어오기
다른 Instance Method 를 보고싶다면 https://nhn.github.io/tui.editor/latest/ToastUIEditorCore
https://nhn.github.io/tui.editor/latest/ToastUIEditorCore/
RETURNS: { Array. >Array. } - node start, end range
nhn.github.io
export default function TextEditor() {
  const editRef = useRef();
  function submitPost() {
    console.log(editRef.current?.getInstance().getHTML());
    editRef.current?.getInstance().reset(""); // 텍스트 에디터를 리셋시킴
  }
  return (
    <>
      <Editor
        ref={editRef}
        placeholder="내용을 입력해주세요."
        previewStyle="vertical"
        height="400px"
        initialEditType="wysiwyg"
        autofocus={true}
        toolbarItems={[
          // 툴바 옵션 설정
          ["heading", "bold", "italic", "strike"],
          ["hr", "quote"],
          ["ul", "ol", "task", "indent", "outdent"],
          ["table", "image", "link"],
          ["code", "codeblock"],
        ]}
        // useCommandShortcut={false} // 키보드 입력 컨트롤 방지
      />
      <button onClick={submitPost}>등록하기</button>
    </>
  );
}
다만, image 파일의 경우 파일 업로드 형태가 아닌 이미지 자체를 base64 로 인코딩한 형태의 img태그로 들어가진다고 한다.
텍스트의 뷰어
import '@toast-ui/editor/dist/toastui-editor-viewer.css';
import { Viewer } from '@toast-ui/react-editor';
이렇게 스타일과 컴포넌트를 import 해주고
<Viewer initialValue={html} />원하는 html, markdown 을 initailValue 에 넣어주면 된다.
'Ect. > Library' 카테고리의 다른 글
| Toast UI (feact. React) 사용기 3 - Grid (0) | 2023.07.13 |
|---|---|
| Toast UI (feat.React) 사용기 2 - Chart 기능 (0) | 2023.07.12 |
| OrbitControls -Threejs (0) | 2023.06.21 |
| Three.js 라이브러리 배워보기 (0) | 2023.06.12 |
| openGL 과, WebGL 기초 (0) | 2023.06.09 |


