Optimistic update 복습
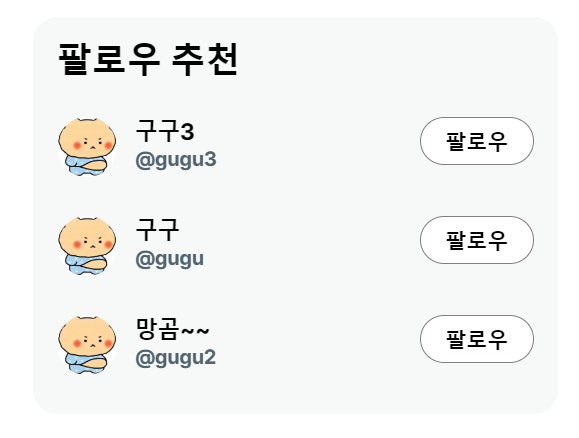
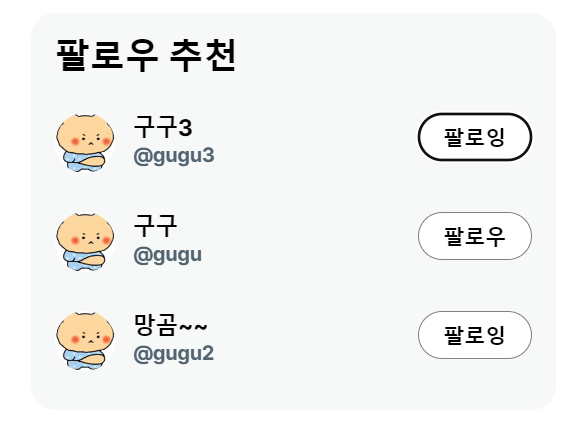
전 포스팅에도 언급했었지만 긍정적 업데이트는 곳곳에 잘 쓰이는 편이라 팔로우/언팔로우 기능을 가지고 복습 겸 정리를 합니다.
Optimistic update 란
사용자가 서버에 요청 시 성공될거라는 가정(긍정적)으로 미리 UI를 업데이트 시켜준 다음 -> 서버 검증 후 -> 업데이트/롤백을 하는 방식
이 방식을 통해 동작에 대한 빠른 피드백을 받을 수 있어서 애플리케이션이 빠르게 반응한다고 느껴 UX 경험이 향상됩니다. 다만 의문점이 생길 수 있는 게, 그저 서버의 성능을 높이면 되는 문제라고 여길 수 있는데 이는 사용자의 네트워크 환경이 어떠냐에 따라 서버의 성능과는 무관하게 응답 속도가 달라질 수 있습니다. 그렇기에 그저 단순히 서버 성능을 높이면 되는 것과는 다른 문제입니다.
Next.js 와 react query로 Optimistic update 구현하기
react query 의 useMutation() 훅을 사용하여 손쉽게 구현이 가능합니다.
차근히 팔로우/언팔로우 기능을 구현하고자 하면, 우선 useMutation의 mutationFn에 서버에 요청해줄 fetch 함수를 설정해줍니다.
const follow = useMutation({
    mutationFn: (userId: string) => {
      return fetch(
        `${process.env.NEXT_PUBLIC_BASE_URL}/api/users/${userId}/follow`,
        {
          credentials: "include",
          method: "post",
        }
      );
    },
    onMutate() {},
    onError() {},
  });

  const unfollow = useMutation({
    mutationFn: (userId: string) => {
      return fetch(
        `${process.env.NEXT_PUBLIC_BASE_URL}/api/users/${userId}/follow`,
        {
          credentials: "include",
          method: "delete",
        }
      );
    },
    onMutate() {},
    onError() {},
  });
만들어준 훅으로 버튼에 mutate 함수를 넣어줘서 핸들링 처리를 해줍니다. 이때 mutate 함수에 특정 매개변수를 직접 지정해줄 수 있어서 이 값을 onMutate, onSuccess 등에 사용 가능합니다.
  const onFollow = () => {
    if (followed) {
      unfollow.mutate(user.id);
    } else {
      follow.mutate(user.id);
    }
  };
여기까지가 긍정적 업데이트를 위한 기본 세팅이고, 아래부턴 언팔로우 기능을 예시로 코드를 작성해나갑니다.
  const unfollow = useMutation({
    mutationFn: (userId: string) => {
      return fetch(
        `${process.env.NEXT_PUBLIC_BASE_URL}/api/users/${userId}/follow`,
        {
          credentials: "include",
          method: "delete",
        }
      );
    },
    onMutate() {
      const value = queryClient.getQueryData(['users', 'followRecommends'])
		// 여기서 성공됐을 때 액션을 작성해줌
      queryClient.setQueryData(['users', 'followRecommends'], value)
    },
    onError() {},
  });
onMutate(userId: string) {
      const value: User[] | undefined = queryClient.getQueryData([
        "users",
        "followRecommends",
      ]);

      // 로직
      if (value) {
        const index = value.findIndex((v) => v.id === userId);
        const shallow = [...value];
        shallow[index] = {
          ...shallow[index],
          Followers: shallow[index].Followers.filter(
            (v) => v.userId === session?.user?.email
          ),
          _count: {
            ...shallow[index]._count,
            Followers: shallow[index]._count.Followers - 1,
          },
        };
      }
      //

      queryClient.setQueryData(["users", "followRecommends"], value);
    },
팔로우 기능은 위의 로직의 반대로 팔로워에 추가해주고, 팔로워 수를 +1 해주면 됩니다. 그리고 서로의 로직은 결국 롤백 시킬 onError 에 들어가게 됩니다.
언팔로우의 전체 로직은 아래와 같습니다.
  const unfollow = useMutation({
    mutationFn: (userId: string) => {
      return fetch(
        `${process.env.NEXT_PUBLIC_BASE_URL}/api/users/${userId}/follow`,
        {
          credentials: "include",
          method: "delete",
        }
      );
    },
    onMutate(userId: string) {
      const value: User[] | undefined = queryClient.getQueryData([
        "users",
        "followRecommends",
      ]);
      if (value) {
        const index = value.findIndex((v) => v.id === userId);
        const shallow = [...value];
        shallow[index] = {
          ...shallow[index],
          Followers: shallow[index].Followers.filter(
            (v) => v.userId !== session?.user?.email
          ),
          _count: {
            ...shallow[index]._count,
            Followers: shallow[index]._count.Followers - 1,
          },
        };
        queryClient.setQueryData(["users", "followRecommends"], shallow);
      }
    },
    onError(userId: string) {
      const value: User[] | undefined = queryClient.getQueryData([
        "users",
        "followRecommends",
      ]);
      if (value) {
        const index = value.findIndex((v) => v.id === userId);
        const shallow = [...value];
        shallow[index] = {
          ...shallow[index],
          Followers: [{ userId: session?.user?.email as string }],
          _count: {
            ...shallow[index]._count,
            Followers: shallow[index]._count.Followers + 1,
          },
        };
        queryClient.setQueryData(["users", "followRecommends"], shallow);
      }
    },
  });
onError 에 들어간 로직은 follow의 onMutate 에 들어간 로직과 동일 합니다.


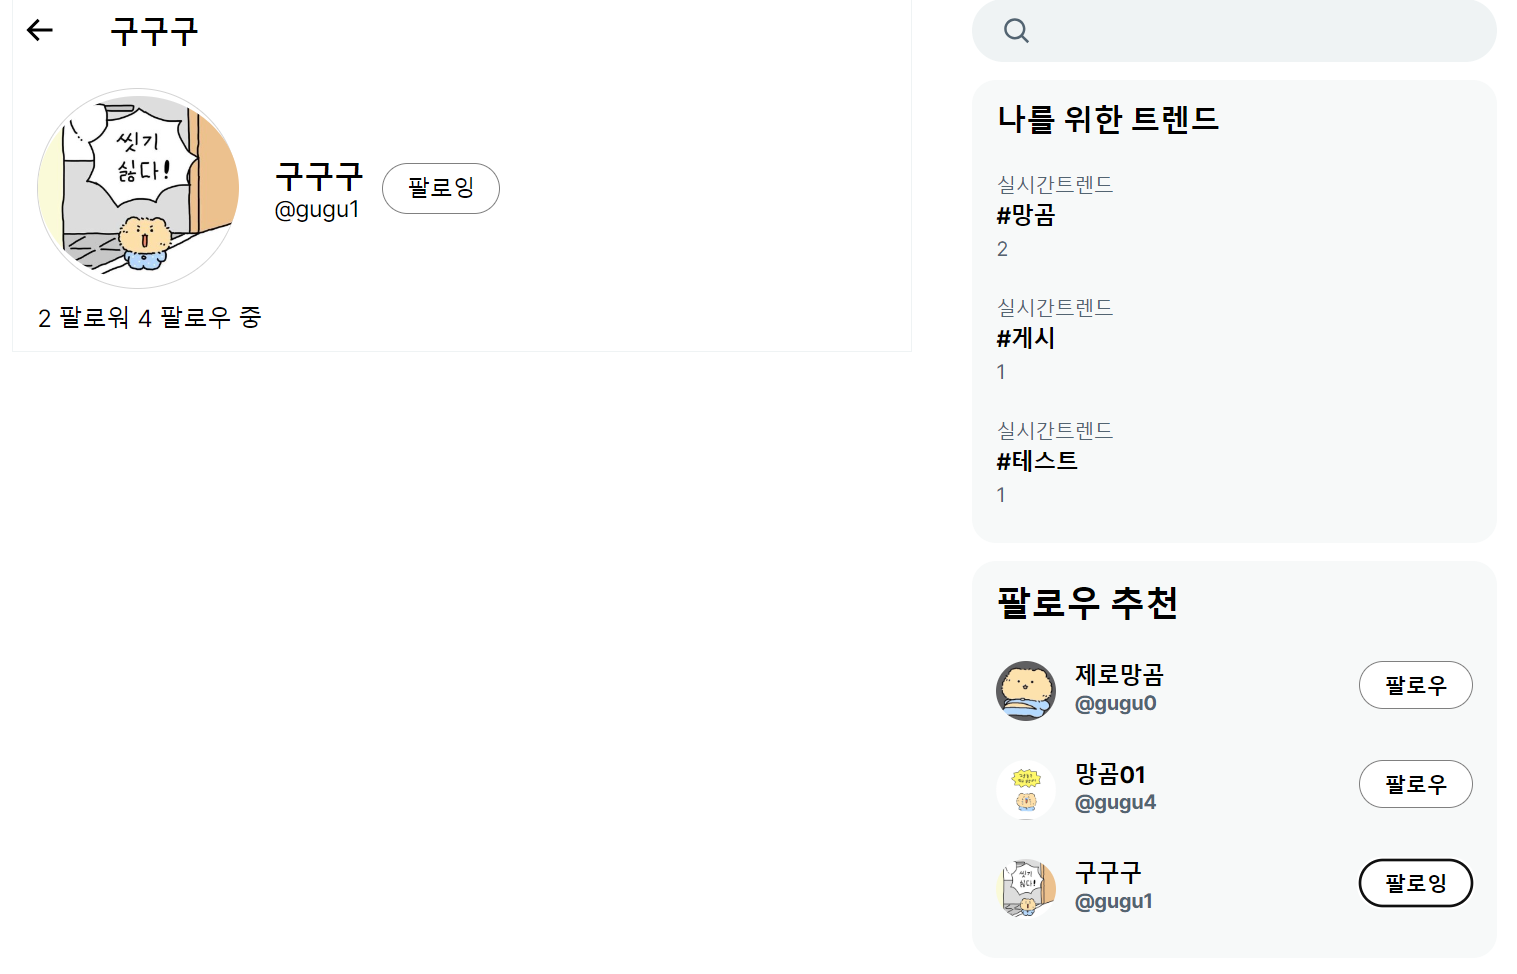
프로필 상에서도 동일한 로직을 가져와서 처리해줍니다. 다만 자신의 프로필에 들어갔을 땐 팔로잉 버튼이 보이지 않게 세션으로 처리해줍니다.


이렇게 리액트 쿼리로 쉽게 구현해보았습니다.
로그아웃
캐싱 정보를 invalidateQueries() 를 사용하여 현재 데이터를 stale 로 변경한 뒤 refetch 를 요청해서 초기화해줄 필요가 있습니다.
const queryClient = useQueryClient();

  const onLogout = () => {
    queryClient.invalidateQueries({
      queryKey: ["posts"],
    });
    queryClient.invalidateQueries({
      queryKey: ["users"],
    });
    // ...
}
그리고 전에 만들었던 connect.sid 라고 만들었던 백엔드 쿠키가 로그아웃을 했음에도 남아있습니다만 이것도 정리해줘야 합니다. 해당 쿠키로 백엔드 유저 정보에 접근이 가능해져서 문제가 발생할 수 있습니다. 해당 api 는 이미 존재하므로 요청을 보내줍니다.
fetch(`${process.env.NEXT_PUBLIC_BASE_URL}/api/logout`, {
    method: "post",
    credentials: "include",
  });
connect.sid 가 사라졌습니다.
prefetchQuery와 fetchQuery
리액트 쿼리에서 prefetchQuery를 사용하여 서버에서 미리 데이터를 만들어진 완성된 초기 데이터를 이용하는 SSR을 사용할 수 있습니다. 그래서 기본적으로 서버 컴포넌트여야 하죠. 그리고 데이터를 프리패칭 하고 캐싱할 뿐 결과를 따로 리턴하진 않습니다.
반면 fetchQuery는 데이터를 프리패칭, 캐싱은 동일하나 결과값까지 리턴하는 함수입니다. 그래서 SSR 시점에서 패칭한 데이터 값 자체가 필요하다면 fetchQuery 를 사용해줍니다.
https://tanstack.com/query/v5/docs/reference/QueryClient
QueryClient | TanStack Query Docs
tanstack.com
Next의 cookies
import {cookies} from 'next/headers';cookies 메서드는 서버 컴포넌트로부터 http 수신 요청 쿠키를 읽어올 수 있는 함수입니다. 하지만 현재 구현한 바, getUser 로 데이터를 가져오는 로직에서 문제가 발생했고, 이를 위해선 해당 메서드를 사용하여 credentials 가 아닌 headers 속성에 직접 쿠키를 넣어줘야 하는 상황입니다.
const res = await fetch(`http://localhost:9090/api/users/${username}`, {
    next: { tags: ["users", username] },
    credentials: "include",
    headers: {
      Cookie: cookies().toString(),
    },
    cache: "no-store",
  });
cookies 메서드는 서버 컴포넌트에서만 작동합니다. 즉 클라이언트 컴포넌트에서 해당 함수를 사용하여 데이터를 가져오게 되면 오류가 발생합니다.

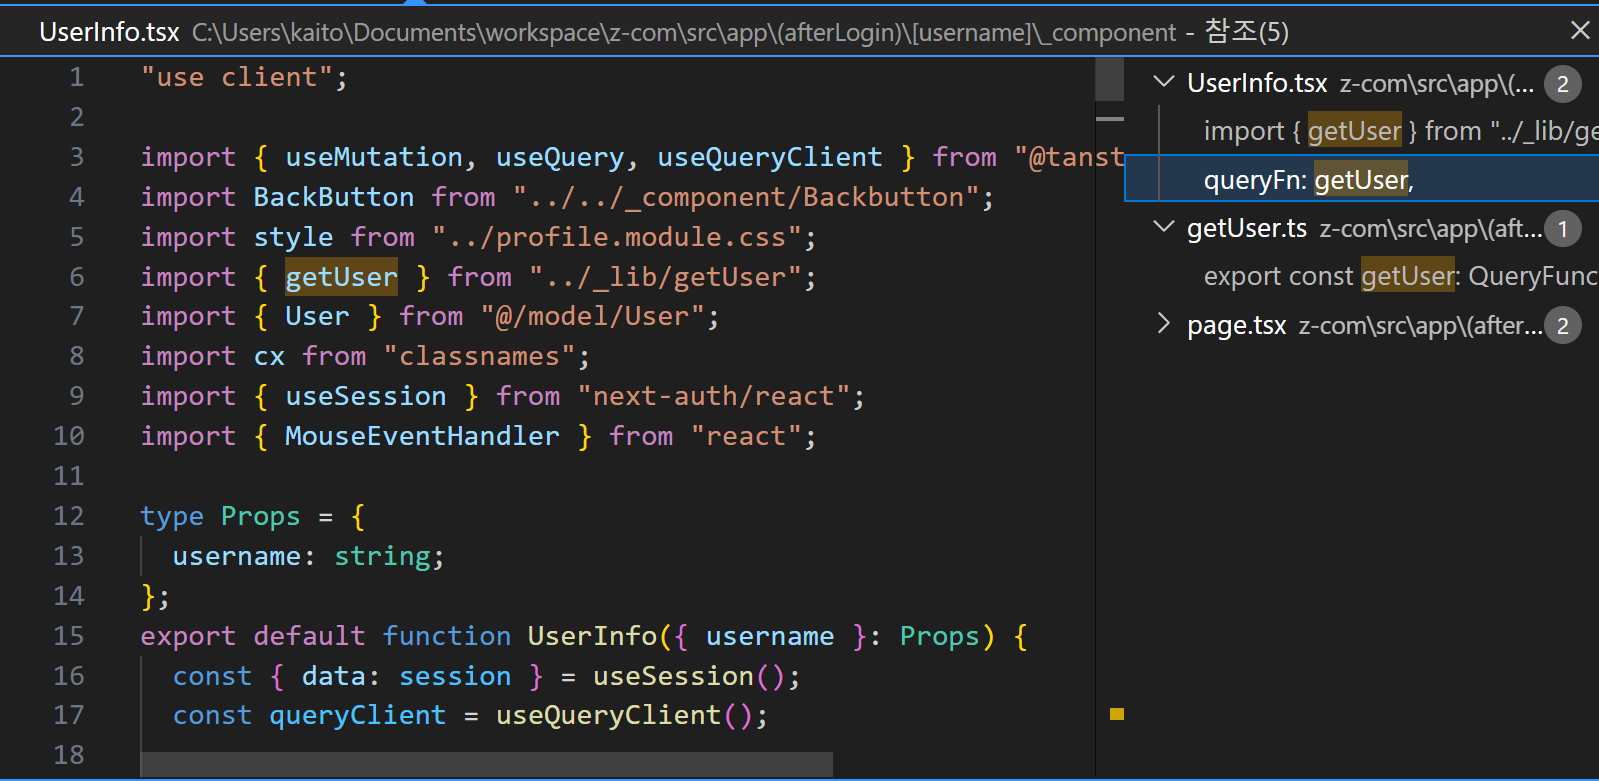
클라이언트 컴포넌트에서 useQuery 로 해당 함수를 불러왔음을 확인합니다.
서버에선 쿠키를 못 가져오는 상황이라면 getUser 함수를 서버용 프론트용으로 나누는 방법이 있습니다.
import { User } from "@/model/User";
import { QueryFunction } from "@tanstack/react-query";

// 클라이언트 컴포넌트 용
export const getUser: QueryFunction<User, [_1: string, string]> = async ({
  queryKey,
}) => {
  const [_1, username] = queryKey;
  const res = await fetch(`http://localhost:9090/api/users/${username}`, {
    next: { tags: ["users", username] },
    credentials: "include",
    cache: "no-store",
  });

  if (!res.ok) throw new Error("Failed to fetch data");

  return res.json();
};
import { User } from "@/model/User";
import { QueryFunction } from "@tanstack/react-query";
import { cookies } from "next/headers";

// 서버 컴포넌트 용
export const getUserServer: QueryFunction<User, [_1: string, string]> = async ({
  queryKey,
}) => {
  const [_1, username] = queryKey;
  const res = await fetch(`http://localhost:9090/api/users/${username}`, {
    next: { tags: ["users", username] },
    credentials: "include",
    headers: {
      Cookie: cookies().toString(),
    },
    cache: "no-store",
  });

  if (!res.ok) throw new Error("Failed to fetch data");

  return res.json();
};
여기서 전에 작성했던 코드가 가물가물해서 한번 정리합니다. 현재 로직상 클라이언트측에서 로그인 요청 시 auth.js를 사용하여 프론트에 세션을 생성하고 이 세션을 통해 클라이언트 로그인 상태를 판단합니다.
백엔드에선 세션을 받아 connect.sid 쿠키를 생성한 상태입니다. 총 2개의 쿠키를 사용하고 있는데 커뮤니티를 확인해보니 한번에 쿠키를 공유하는 방법은 아직 못 찾았고, next-auth 가 주는 장점 때문에 분리하게 되었다고 합니다.
'Web Study > Next.js' 카테고리의 다른 글
| Next.js로 SNS x.com 클론코딩하기 - 14 (0) | 2024.02.20 |
|---|---|
| Next.js로 SNS x.com 클론코딩하기 - 13 (0) | 2024.02.19 |
| Next.js redirects 설정 (0) | 2024.02.17 |
| Next.js로 SNS x.com 클론코딩하기 - 11 (0) | 2024.02.16 |
| Next.js로 SNS x.com 클론코딩하기 - 10 (1) | 2024.02.12 |


