초기 설정
// index.html
<!DOCTYPE html>
<html lang="en">
<head>
  <meta charset="UTF-8">
  <meta http-equiv="X-UA-Compatible" content="IE=edge">
  <meta name="viewport" content="width=device-width, initial-scale=1.0">
  <title>Meme Maker</title>
  <link rel="stylesheet" href="./styles.css" />
</head>
<body>
  <canvas></canvas>
  <script src="./app.js"></script>
</body>
</html>
app.js / index.html / styles.css 파일 생성
live sever 확장 프로그램 설치
❗️ canvas 란?
https://developer.mozilla.org/en-US/docs/Web/API/Canvas_API
Canvas API - Web APIs | MDN
The Canvas API provides a means for drawing graphics via JavaScript and the HTML <canvas> element. Among other things, it can be used for animation, game graphics, data visualization, photo manipulation, and real-time video processing.
developer.mozilla.org
canvas API 는 자바스크립트로 그래픽을 그릴 수 있게 해주는 API -> 2D 그래픽 가능
(WebGL API은 2D 혹은 3D를 그릴 수 있다.)
getContext() 로 그림 그릴 준비 하기
const canvas = document.querySelector('canvas');
// canvas 크기 지정
canvas.width = 800;
canvas.height = 800;

// context -> 페인트 브러쉬
const ctx = canvas.getContext("2d"); // 그림을 그릴 수 있는 준비
canvas 의 좌표 시스템 - 아래에 보이는 사각형의 좌상단이 x=0, y=0 인 것이다.
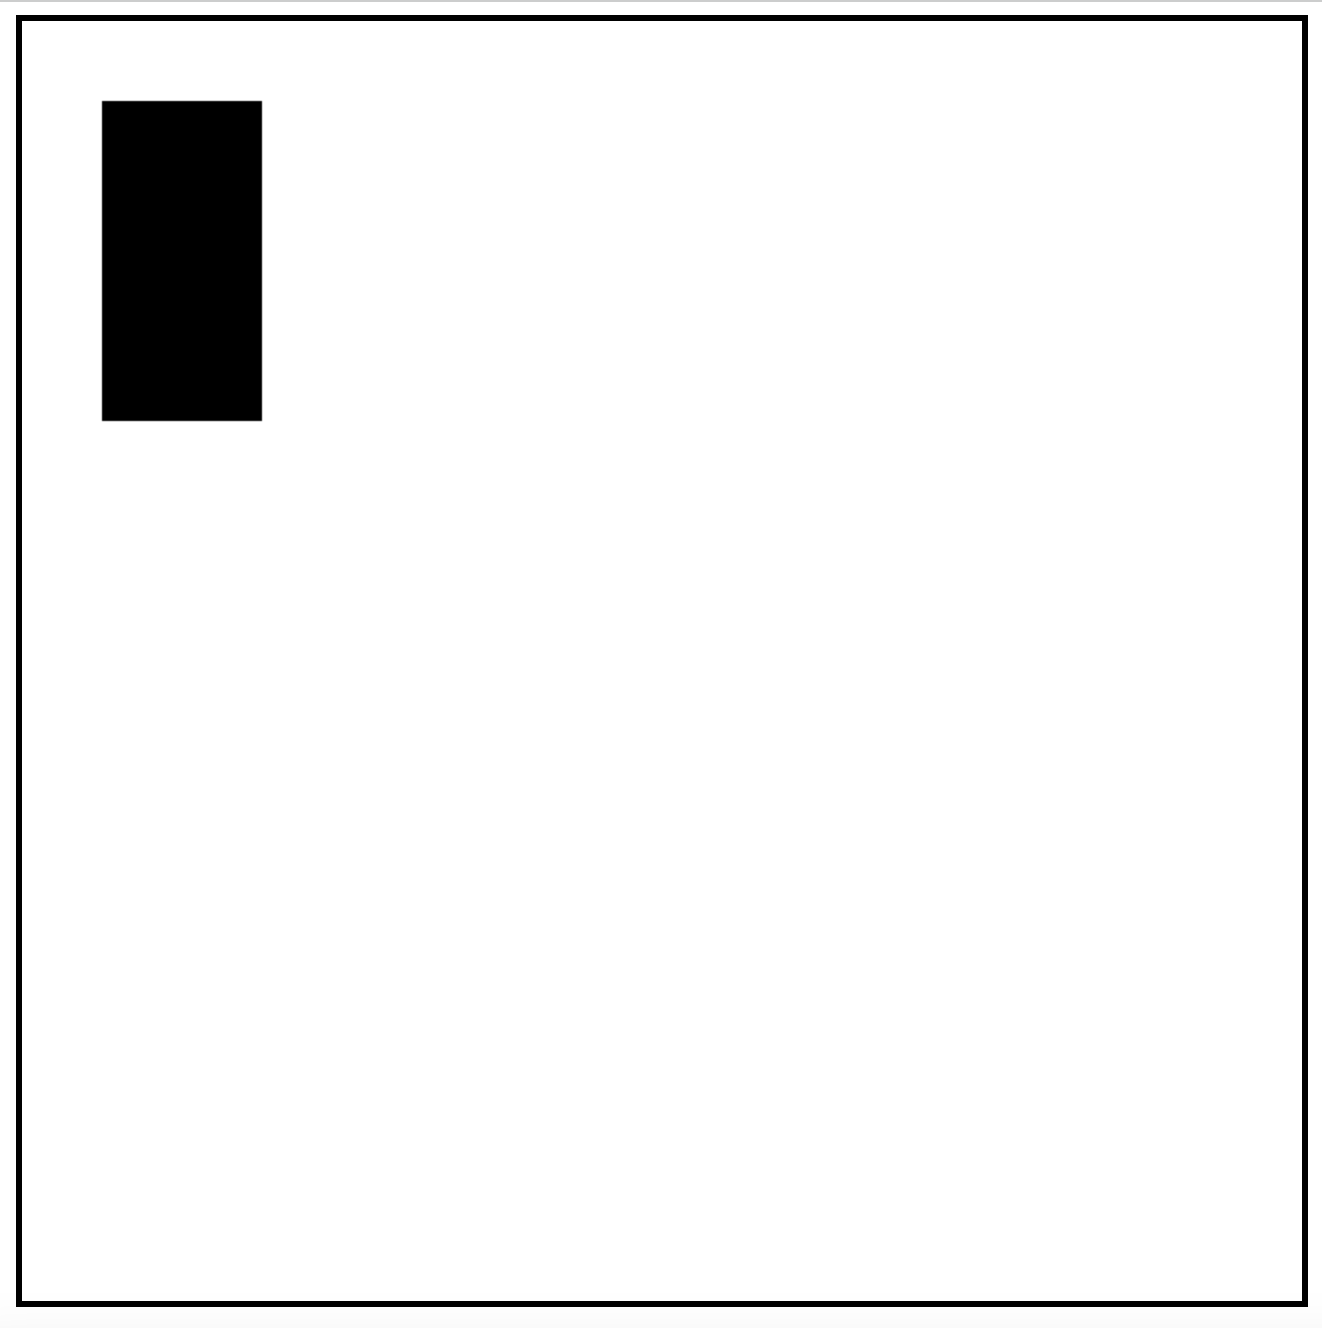
fillRect(x, y, width, height)
직사각형을 그리고 색을 채우기
// fillRect() : 직사각형을 만들고 색을 채우기
ctx.fillRect(50, 50, 100, 200);
위 이미지처럼 결과가 나온다.
기본 색은 black 이며, 색을 바꿔주고 싶다면 fillStyle 로 색을 지정해줘야 한다. (다만 순서상 먼저 스타일을 지정해줘야 함)
strokeRect(x, y, width, height)
직사각형 그리기
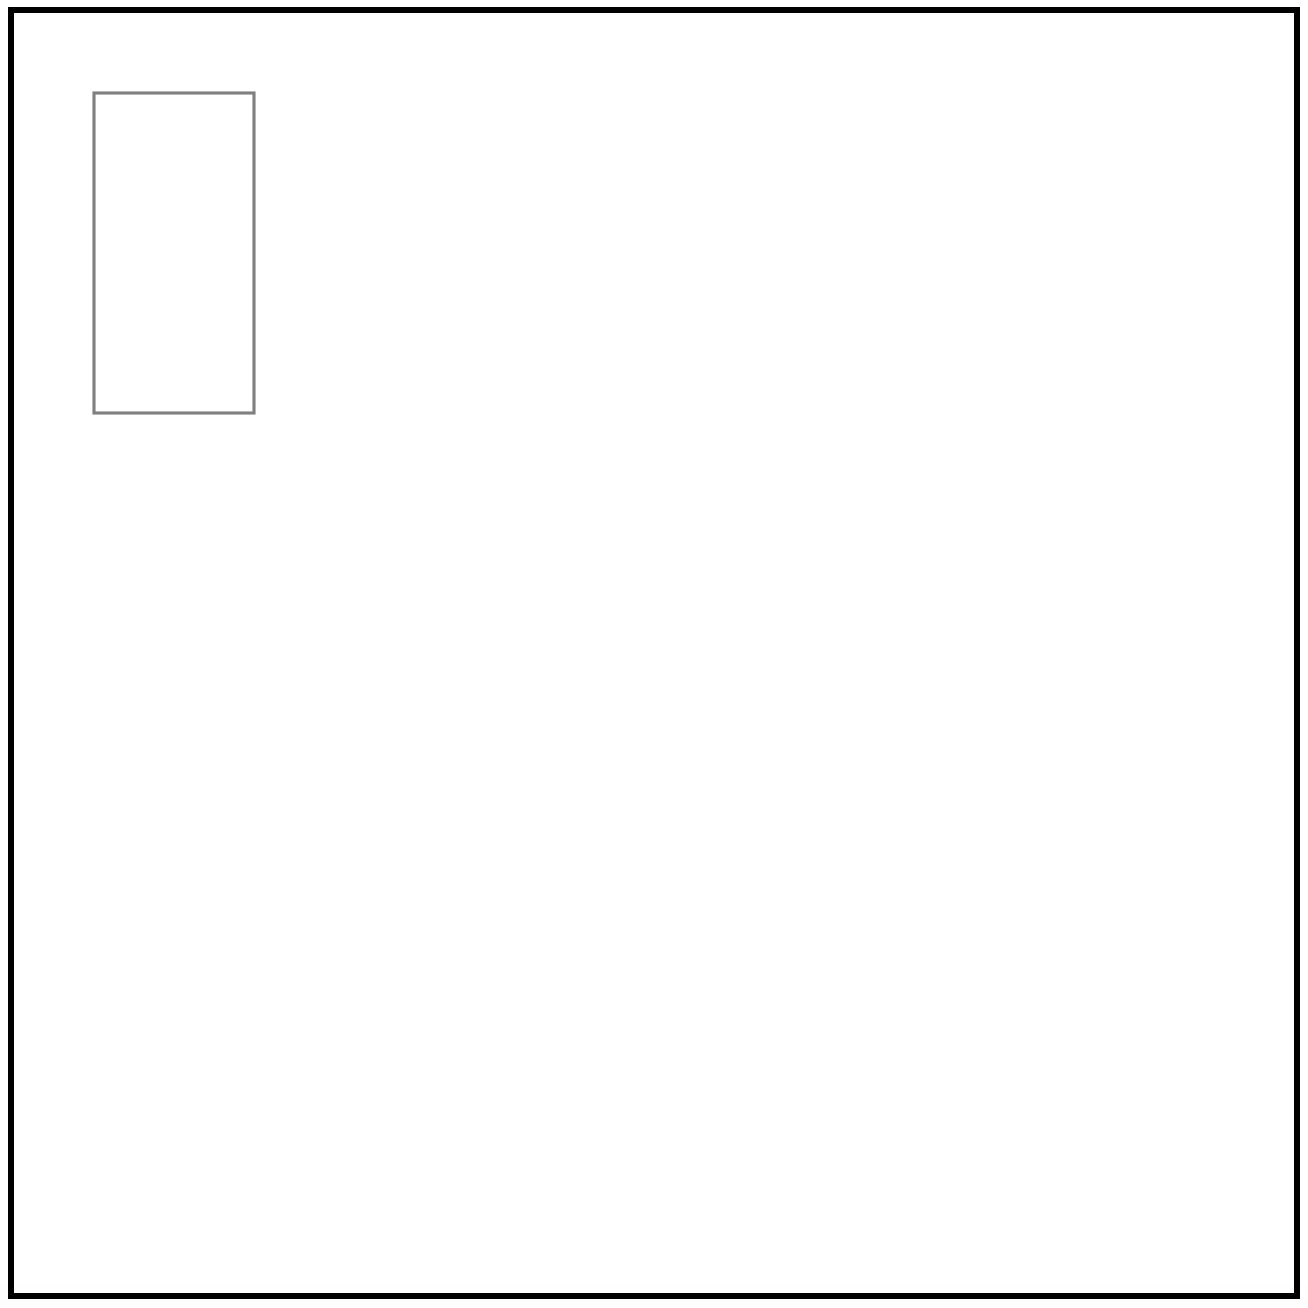
// strokeRect() : 직사각형 그리기
ctx.strokeRect(50, 50, 100, 200);
rect(x, y, width, height) : 직사각형 틀 잡기(그려지진 않음)
fill() : 색 채워 넣기
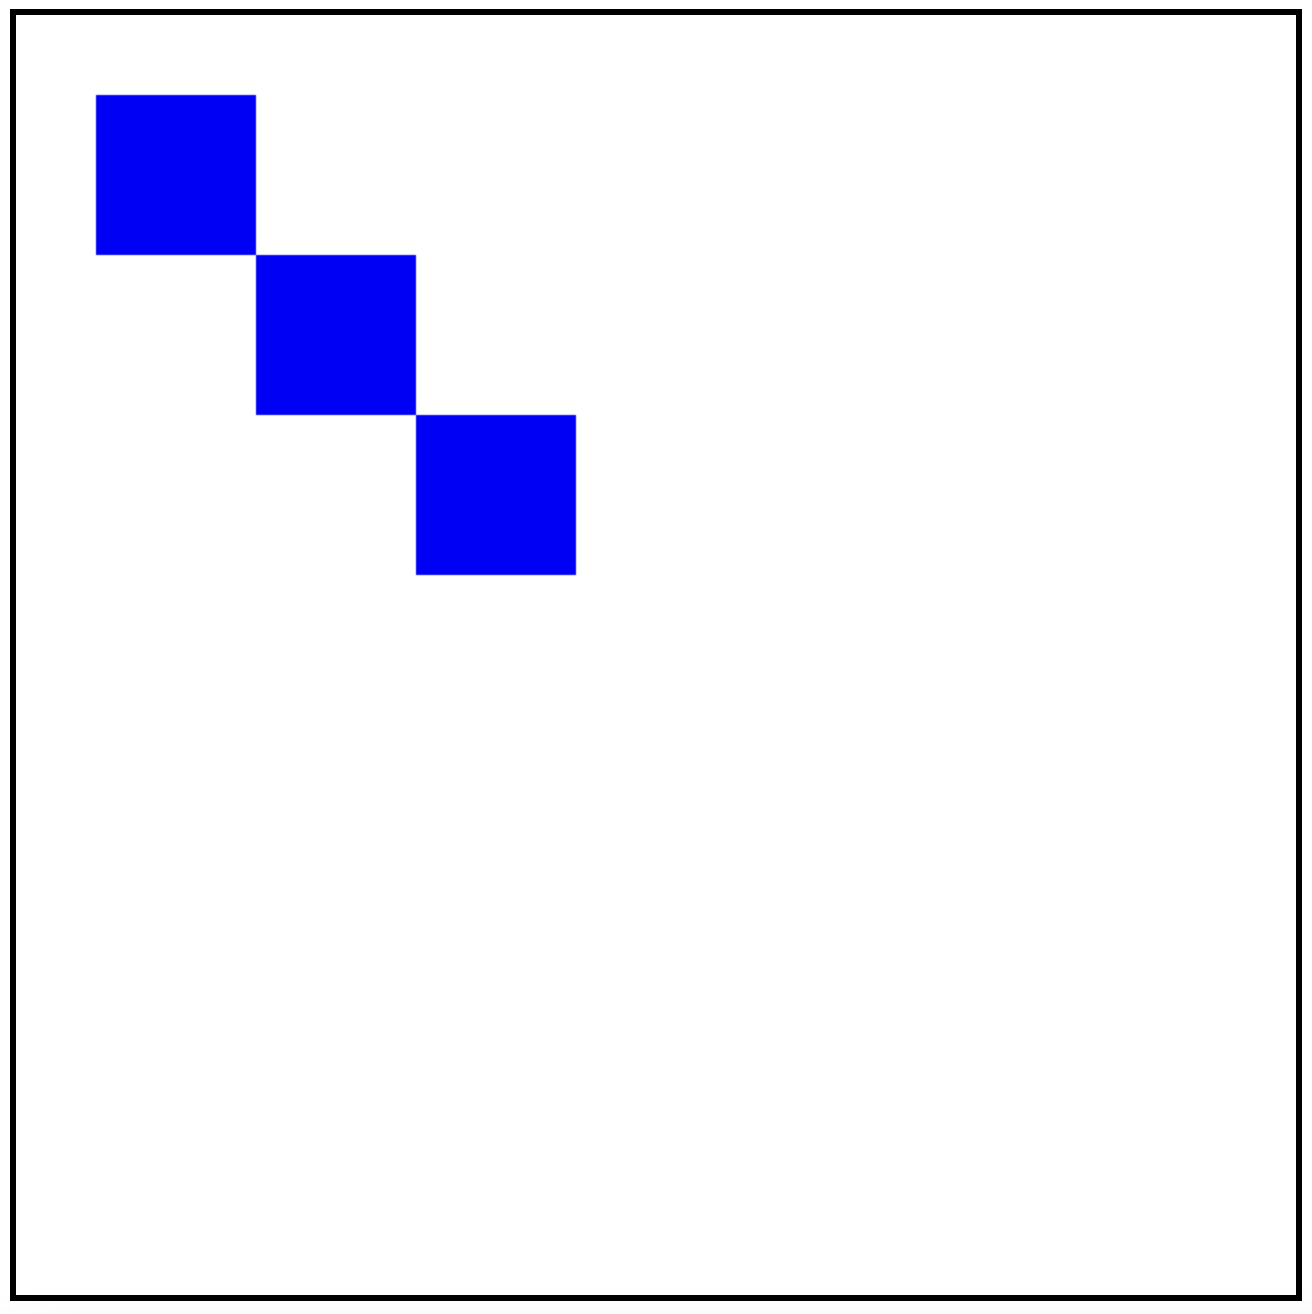
// rect() + fill()
ctx.rect(50, 50, 100, 100);
ctx.rect(150, 150, 100, 100);
ctx.rect(250, 250, 100, 100);
ctx.fillStyle = 'blue';
ctx.fill();
ctx.rect(350, 350, 100, 100); // 당연히 그려지지 않음
이처럼 rect() 는 fill() 과 같이 사용해줘야 그림이 그려진다.
+ 추가로 stroke() 로 선만 채워줄 수도 있음
도형의 틀을 잡고 -> stroke() 나 fill() 로 페인팅해준다.
beginPath() : 각 도형의 공유된 경로를 재설정하기 위해 초기화해주는 개념
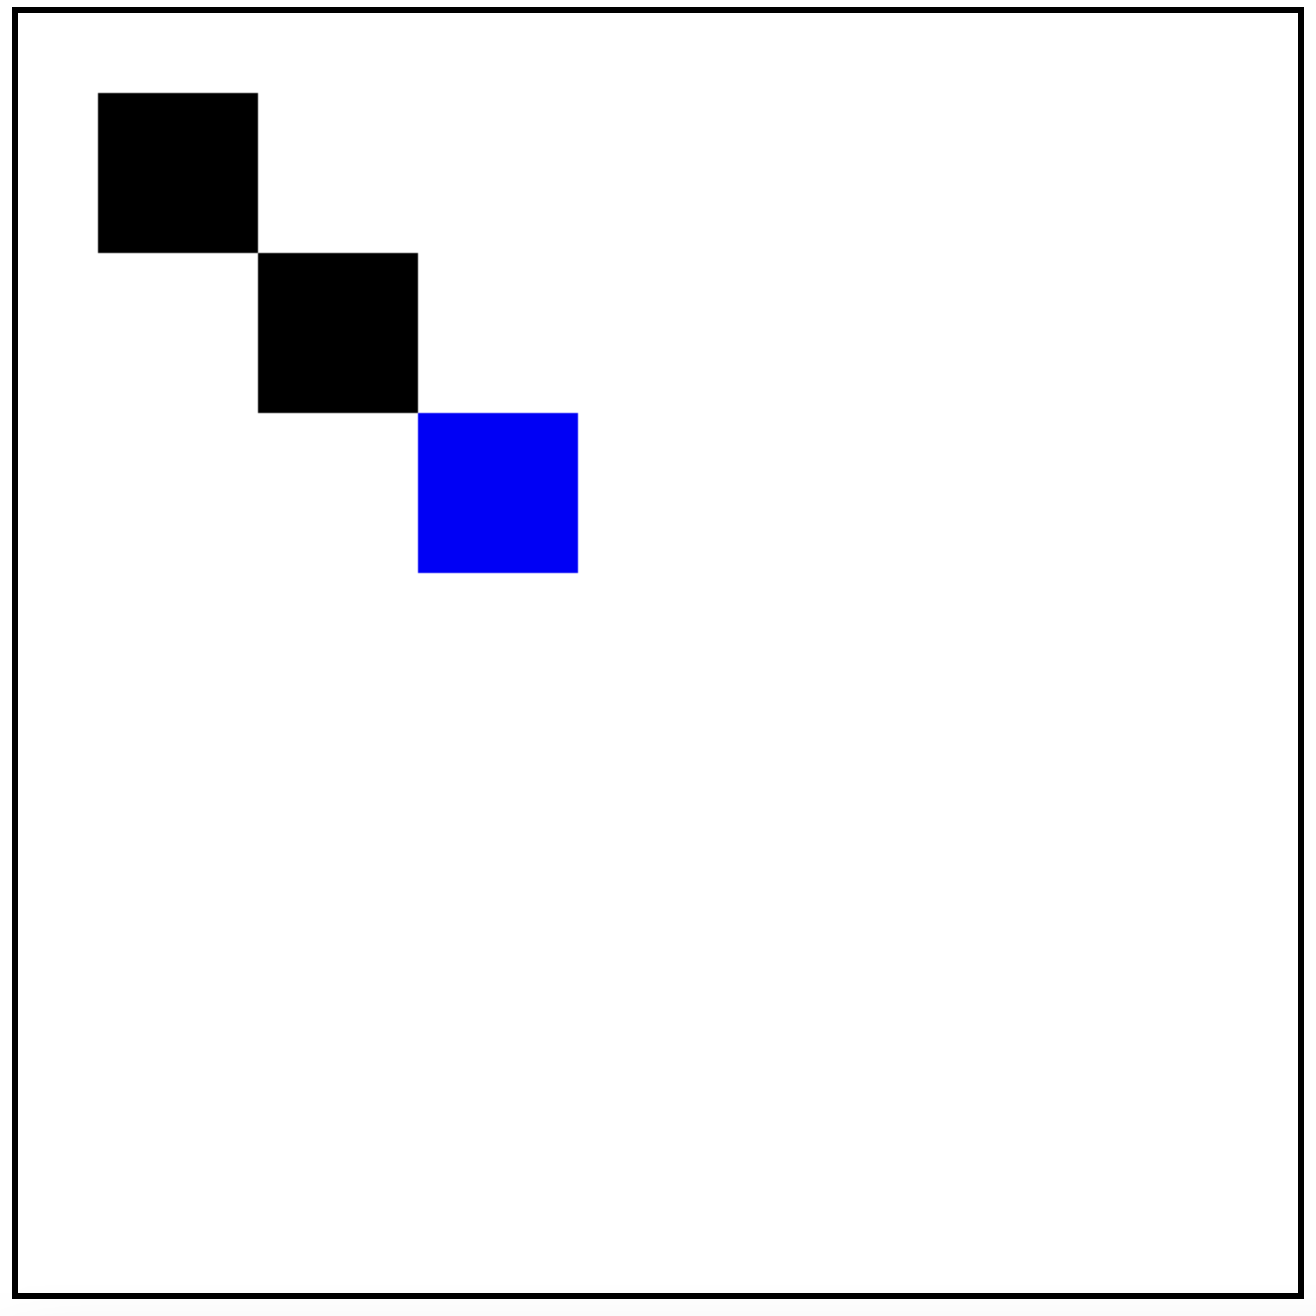
ctx.rect(50, 50, 100, 100);
ctx.rect(150, 150, 100, 100);
ctx.fill();

ctx.beginPath(); // 위와 아래의 rect() 의 경로를 상이하게 만드는 것.

ctx.fillStyle = 'blue';
ctx.rect(250, 250, 100, 100);
ctx.fill();
브러쉬를 직접 조정해보기
moveTo(x, y) : 브러쉬를 이동
lineTo(x, y) : 브러쉬로 선을 그어주기
// moveTo(x, y), lineTo(x, y)
ctx.moveTo(50, 50);
ctx.lineTo(150, 50);
ctx.stroke();
브러쉬의 마지막 위치에서, 이어지게 움직인다.
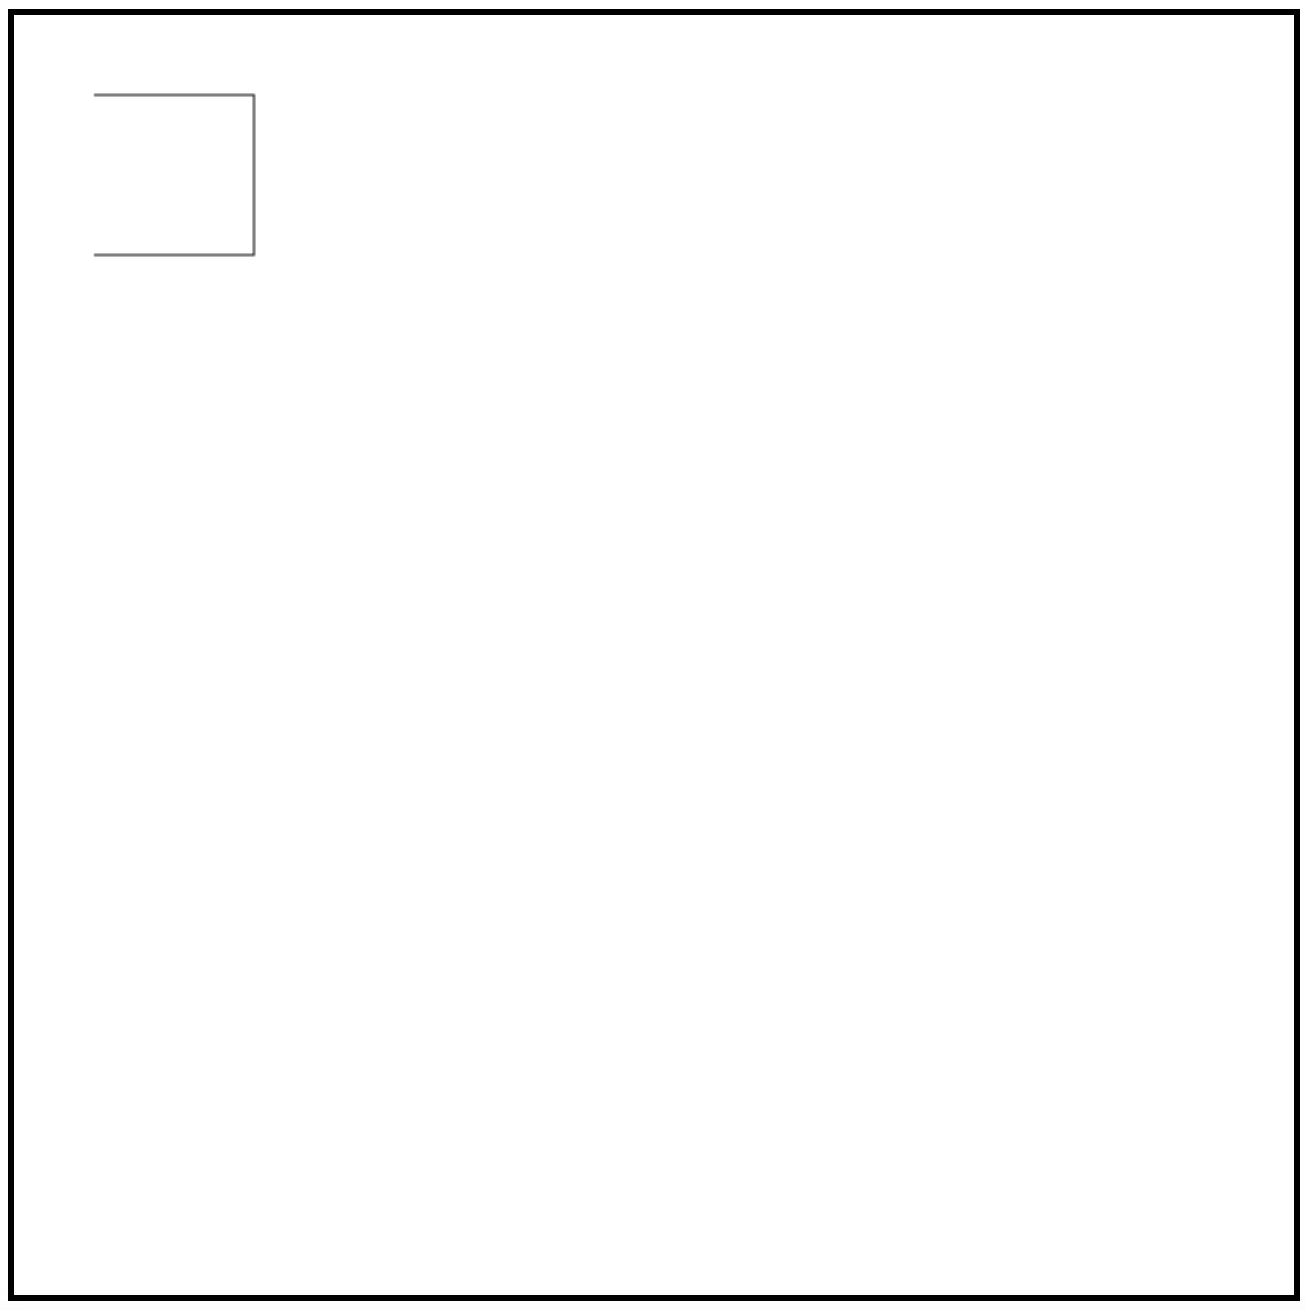
ctx.moveTo(50, 50);
ctx.lineTo(150, 50);
ctx.lineTo(150, 150);
ctx.lineTo(50, 150);
ctx.stroke();
즉, strokeRect() 등의 메서드는 moveTo() 와 lineTo() 메서드 등으로 만들어줄 수 있음.
집 그려보기
ctx.moveTo(150, 50);
ctx.lineTo(75, 100);
ctx.lineTo(225, 100);
ctx.lineTo(150, 50);

ctx.moveTo(100, 100);
ctx.lineTo(100, 180);
ctx.lineTo(200, 180);
ctx.lineTo(200, 100);

ctx.stroke();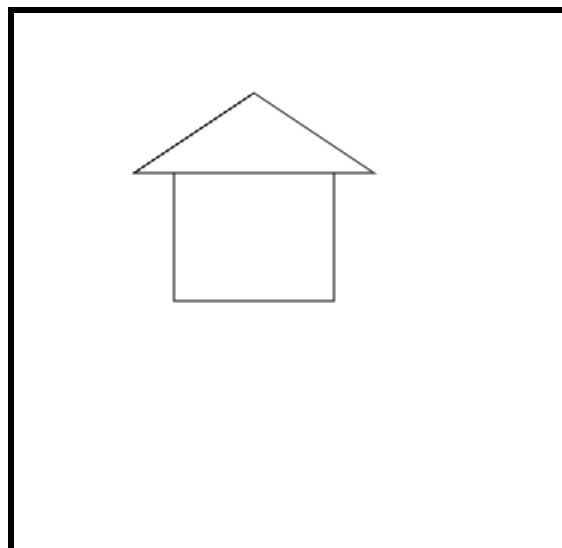
ctx.fillRect(200, 200, 50, 200);
ctx.fillRect(400, 200, 50, 200);
ctx.lineWidth = 5;
ctx.strokeRect(300, 300, 50, 100);
ctx.fillRect(200, 200, 200, 30);

ctx.moveTo(200, 200);
ctx.lineTo(325, 100);
ctx.lineTo(450, 200);
ctx.fill();

ctx.fillRect(100, 400, 450, 5);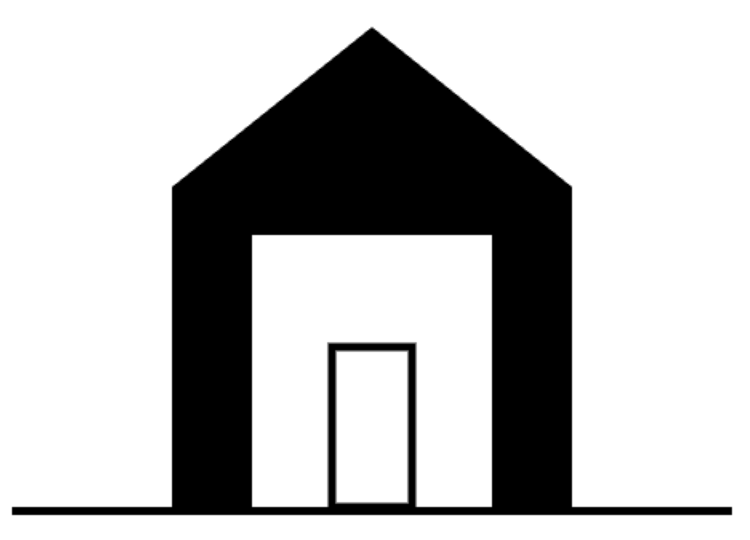
사람 그리기
원형 : arc(x, y, radius, startAngle, endAngle)
ctx.arc(50, 50, 20, 0, 2*Math.PI);
ctx.fill();- startAngle : 원을 시작하는 각도
- endAngle : 원을 끝내는 각도? -> 완벽한 원이 아니어도 가능
이 원리를 파고들자면,
https://www.w3schools.com/tags/canvas_arc.asp
HTML canvas arc() Method
W3Schools offers free online tutorials, references and exercises in all the major languages of the web. Covering popular subjects like HTML, CSS, JavaScript, Python, SQL, Java, and many, many more.
www.w3schools.com
여기서 Tip을 보면, 원을 만들고 싶다면 startAngle 은 0, endAngle은 2*Math.PI 로 넣어주면 된다고 써있다.
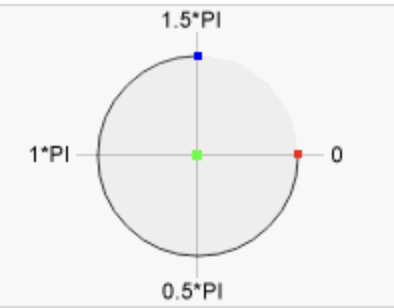
보다시피 원의 Angle위치는 이미지처럼 되어있기 때문이다.
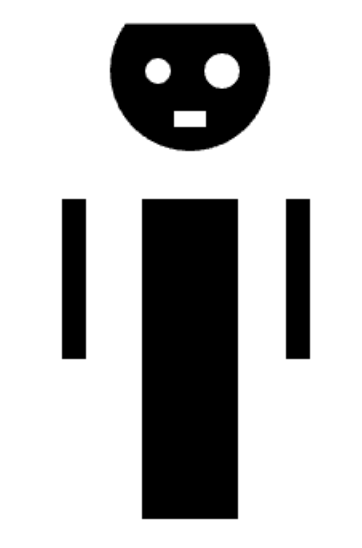
// 사람 그리기
ctx.fillRect(210, 200, 15, 100);
ctx.fillRect(350, 200, 15, 100);
ctx.fillRect(260, 200, 60, 200);

ctx.arc(290, 120, 50, 1.8*Math.PI, 1.2*Math.PI);
ctx.fill();

ctx.beginPath();
ctx.arc(270, 120, 8, 0, 2*Math.PI);
ctx.arc(310, 120, 11, 0, 2*Math.PI);
ctx.fillStyle = 'white';
ctx.fill();

ctx.fillStyle='white';
ctx.fillRect(280, 145, 20, 10);
이처럼 그림 그리는 기능은 얼추 배웠다.
그림판 그릴 준비하기
마우스의 클릭 이벤트를 받아준다.
canvas 에 click 이벤트 핸들러를 주어 이벤트 객체를 확인하면 clientX, ...pageX, 등이 있지만
요소 내의 위치는 offsetX, offsetY 로 알 수 있음을 볼 수 있다.
이 수치를 사용하여 lineTo 해준다.
ctx.lineWidth = 2;
function onClick(evt) {
  ctx.lineTo(evt.offsetX, evt.offsetY);
  ctx.stroke();
}

canvas.addEventListener('click', onClick);
이렇게 구현해주면 클릭할 때마다 클릭된 점들을 이어주는 직선이 생기는 것을 알 수 있다.
mouseup과 mousedown, mousemove 로 그림 그리는 효과주기
let isPainting = false;

function onMove(evt) {
  // 클릭 되었을 때만 그려줄 수 있게끔
  if(isPainting) {
    ctx.lineTo(evt.offsetX, evt.offsetY);
    ctx.stroke();
    return;
  }

  // 마우스의 움직임에 브러쉬는 계속 움직여야 함
  ctx.moveTo(evt.offsetX, evt.offsetY);
}

function onMouseDown() {
  isPainting = true;
}

function onMouseUp() {
  isPainting = false;
}

canvas.addEventListener('mousemove', onMove);
canvas.addEventListener('mousedown', onMouseDown);
canvas.addEventListener('mouseup', onMouseUp);
해당 프로그램을 보면 한가지 버그가 있는데, 캔버스 밖으로 클릭한 채 나가면 브러쉬가 계속 눌려있는 현상이다.
그러므로 캔버스 밖으로 나가지면 isPainting 을 false 로 바꿔줘야 한다.
canvas.addEventListener('mouseleave', onMouseUp);위처럼 마우스가 mouseleave 이벤트를 주면 된다.
'Web Study > 노마드코더' 카테고리의 다른 글
| 노마드코더 JS로 그림 앱 만들기 - 마지막 (2) | 2023.06.10 |
|---|---|
| 노마드코더 JS로 그림 앱 만들기 - 2 (0) | 2023.06.09 |
| 바닐라 JS 크롬 앱 만들기 (6~8) (0) | 2023.02.27 |
| 바닐라 JS 크롬 앱 만들기 (5) (0) | 2023.02.23 |
| 바닐라 JS 크롬 앱 만들기 (4) - 2 (0) | 2023.02.22 |


